
Due to a lot of demande here is a little tutorial on how I paint my Carcharodons Head Hunter Squad ;)


So, as those who follow me on instagram will notice the Head hunter squad is the first primaris unit of my Carcharodon strike force. And now it count a third warrior ! 😃
As those guys received a lot of love on the community (eavier metal facebook groupe and instagram in particular) I made a tutorial on how I paint them.
Those are not advanced techniques so I think that they could be used by anyone. (Also I apologies in advance to all th golden demon winners that came on that page 😅. )
I don't do tutorial that often so if you have some comments, advices, questions or if you just happen to appreciate this article/blog don't hesitate to drop a comment ;) !
Let's go !
I : My sharks Grey/red armours :
First we will see how I make the grey with red hue armours plates of my sharks.
For that I use : Prince august blue/grey, Scale75 indian shadow, GW dumbull Brown and finaly Prince august fluo orange.


Then I use the Indian shadow to put the first shadows. With a well diluted paint I put a little pool of paint along the corner of the armour parts. I then "push" it toward the shadows with a brush wet with saliva (this is known as the two brush blending technique and I use it a lot) going back and forth with the paint I creat a little red area blended with the blue grey.


Here we are you can now eather leave it that way and make some tattoos or use GW fenrisian grey to make some lining highlight ; )
II : The Blue parts of the armour :
For this part I will use a knife and the shoulder pad trim of another guys (he was on the Indian shadow stage of the previous part).
I always use a quick 2 brush technique to apply my paint. This may need some practice to get the right paint consistancy and to control the brush work. Also this technique result may appears messy during the first stages but the end result is cool enaugh ;)
For this I use three colors : Scale75 Caspian blue, caribbean blue and Prince august shinny white.

I put a little "pool" of paint on the surface I want, then I use saliva to blure/blend the edge of the pool. On the knife for exemple I put my paint on the 3/4 of the blade, then I push the paint with saliva from the shadow toward the Hightlight and edges. Use well diluted paint and apply 2/3 thine coat that way (Duncan spirit possesse me sometimes)..


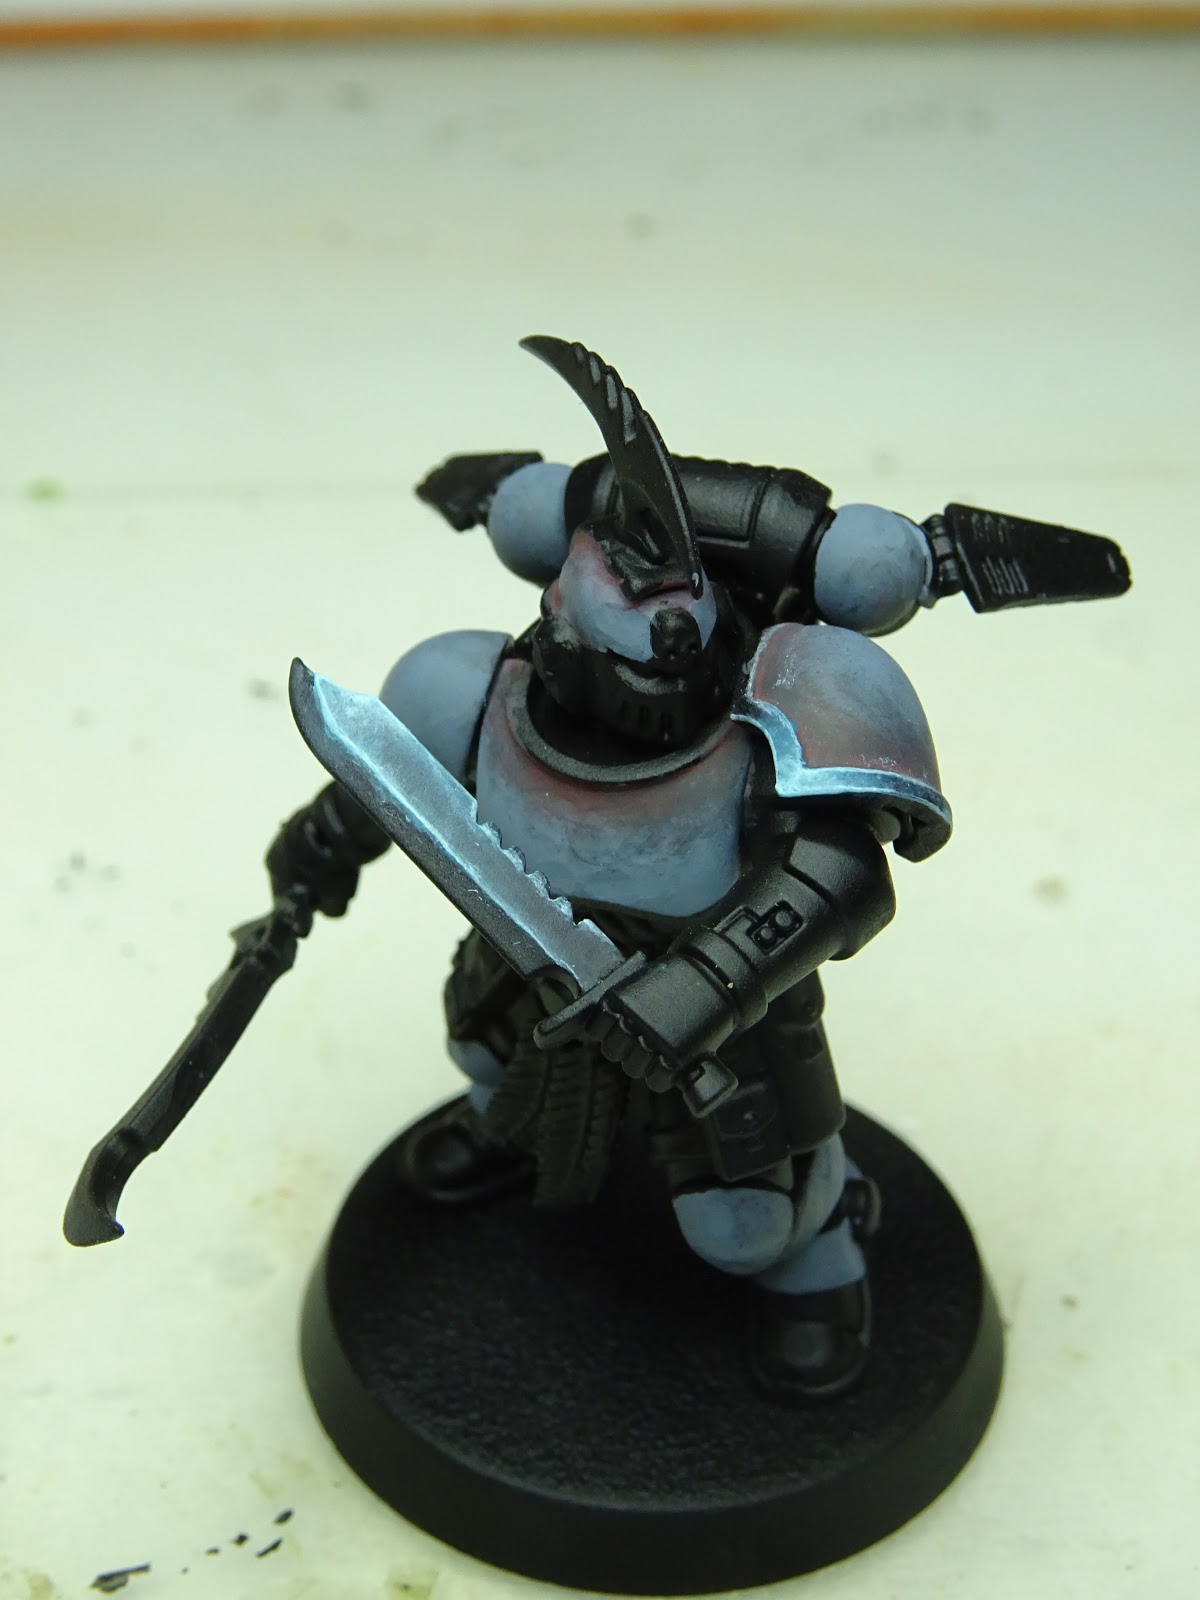

Finally I use pure white to put some highlights dot or making the lining stronger on the edges. Befor this step you can also use black on the darkest areas and use the same technique as for the Hightlight but backward. With a little pool of black on the dark area of witch you'll blend the edges with the caspian blue that should be nearby.


And here we are for the blue ;)
Here is some pictures of the processes applied to the entire model that lead at the final armour including the tattoos.


And the final model with proper pictures :


Here we are for this article ! Hope you'll enjoy it as mutch as I had fun making it ! Don't hesitate to leave a comment this will warm our heart and it's always pleasing on a little blog like ours ! :)
Happy painting !
Malchy

Awesome tutorial! Thank hou!
RépondreSupprimerThanks void brother ! Glade you like it :)
SupprimerTrop classe, encore une fois, c'est du grand Malchy
RépondreSupprimerMerci mon jul ! :)
SupprimerExcellent Tuto, merci. C'est rafraîchissant de voir des modèles de cette qualité peints entièrement au pinceau! Bravo, très inspirant!
RépondreSupprimerMerci du retour Jpwyrm ! Content que tu ais apprécié le tuto ! :D
SupprimerGartenpools
RépondreSupprimerGerne unterstützen wir Sie bei der Auswahl des passenden Gartenpool um gemeinsam mit Ihnen Ihren Traum vom eigenen Pool Realität werden zu lassen. Das Team von Pool.net freut sich über Ihren Anruf unter der Service Hotline +49 (0)6252 / 305 80 45. Gerne können Sie auch unseren Rückrufservice nutzen und wir setzen uns mit Ihnen für eine persönliche Beratung in Verbindung.